
Introduction to Infrastructure as code using Bicep
Deployment of resources using a code gives us more control on what it is we are deploying. It is like an instruction manual on what resources to deploy and how to deploy it. Infrastructure as code also makes it easy for automating the asset deployment using pipelines or workflows.
IaC also makes it easy for multi environment deployments and managing all these different environments. IaC also helps use keeping track of all the asset deployed and providing us more descriptive information on the assets deployed.
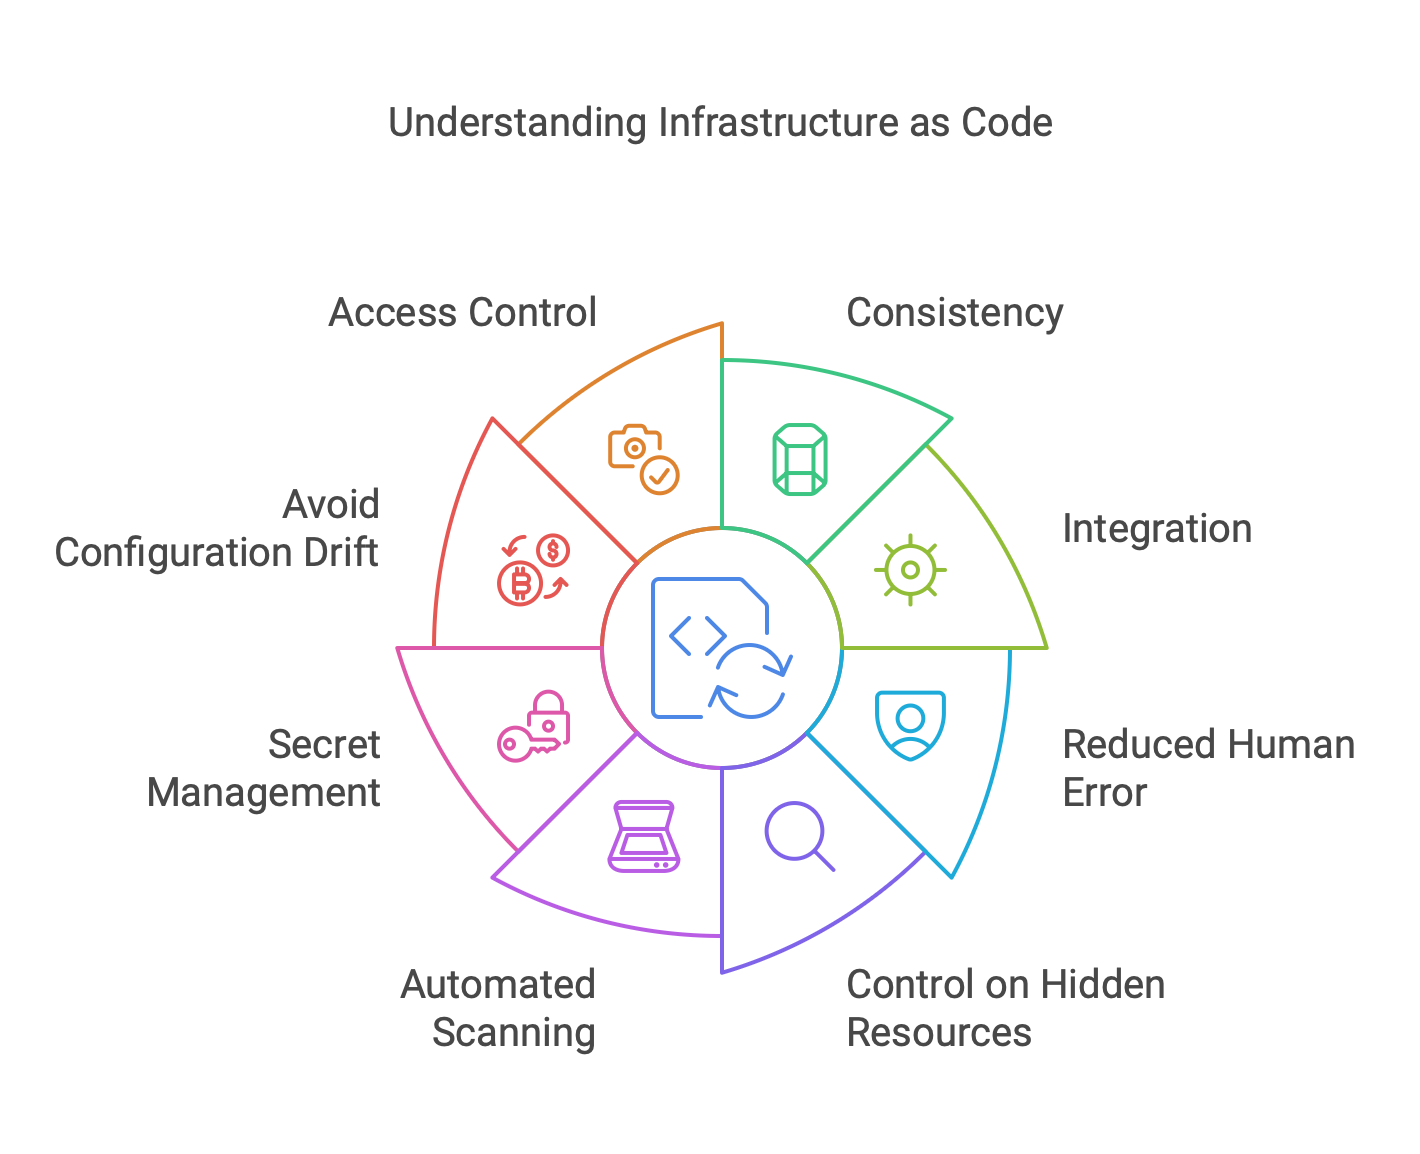
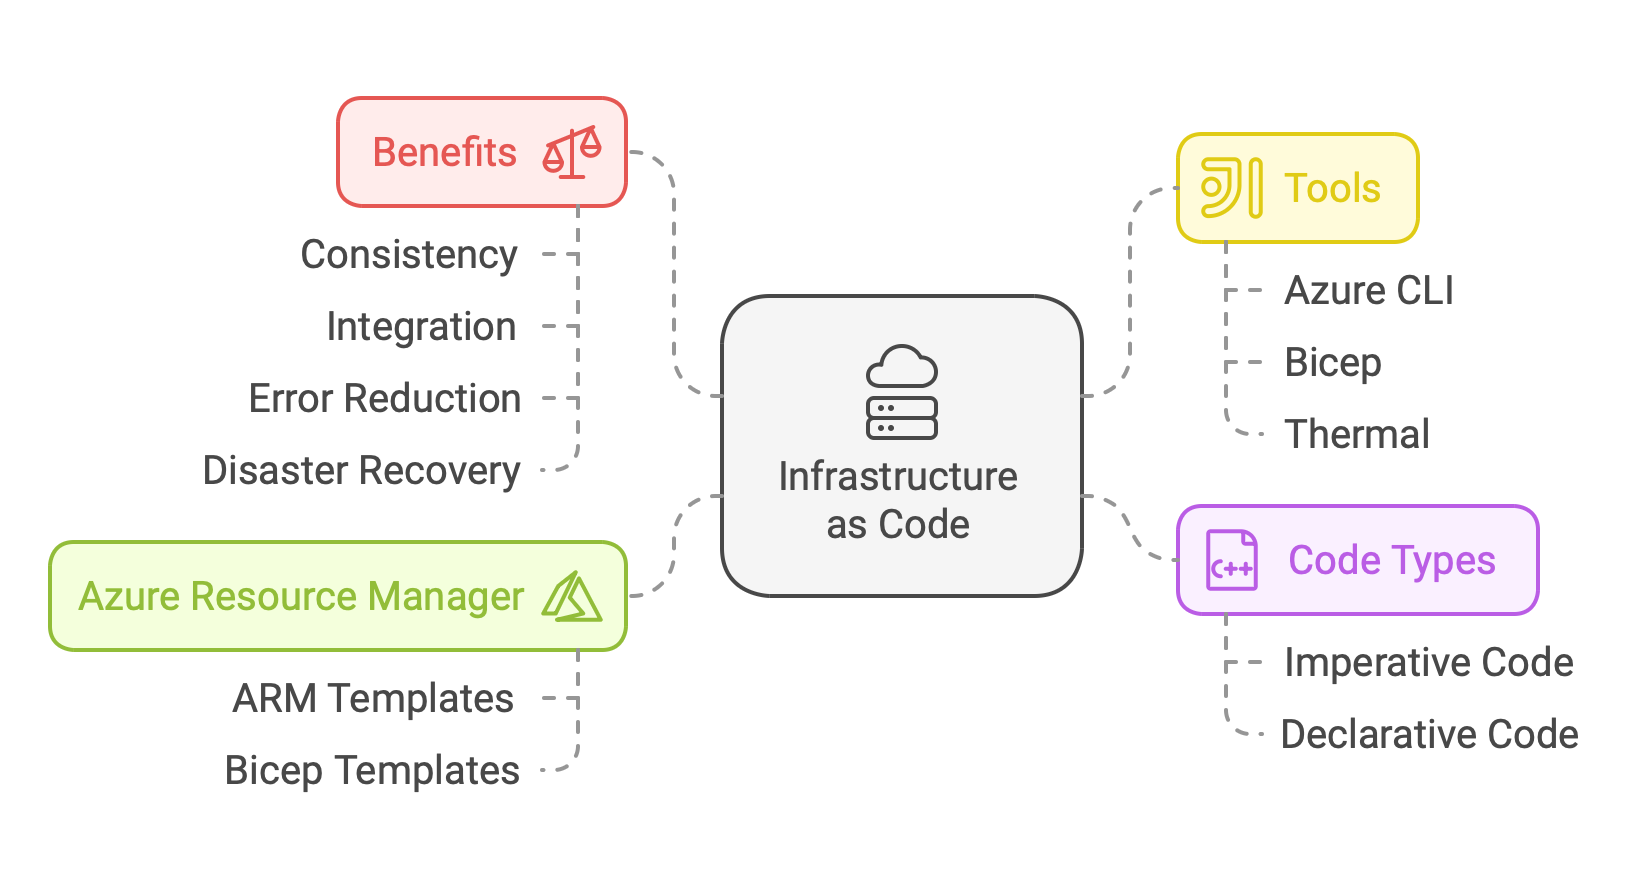
Few upsides for infrastructure as code are: 1. Consistancy 2. Integration with the current processes 3. Reduced human error 4. Control on Hidden Resources 5. Automated Scanning using IaC Tools 6. Secret Management 7. Avoid Configuration Drift (Idempotance: code gives same output for each run of the IaC) 8. Access Control 9. Provisioning of new Environments 10. Disaster recovery(Quickly spin up assets in case of recovery, in some cases) 11. Audit Trail(Git’s history) 12. Documentation 13. Unified System between all different teams 14. Increased confidence and 15. Better understanding of cloud resources
Imperative vs Declarative Code
Imperative Code – a sequence of instructions including loops and conditions. We have to consider all the output option and instruct the code on what to do based on different outputs.
Declarative Code – specify the end goal on how the configuration should look like without any focus on how the configuration is achived.
Azure CLI, Powershell and Bash etc are all examples of the imperative code. We provide instruction on what to do and provide condition on the follow up steps based on the output. We have to determine the order of creation of all the different assets we want to deploy.
Bicep, ARM Template, Terraform and Ansible etc are examples of declearative code. Here we provide on what are the resources we need and the code will take care of deploying these assets and we don’t have to worrry about any configuration’s order.
Azure Resource Manager
ARM is the service is responsible for deploying the resources no matter where we deploy the resources from. Be it Bicep, portal or CLI once a request is made, this request reaches ARM and it sends the instructions to the requested services to create the resources. ARM acts a go between between the portal/CLI etc and the actual services in the backend.
Consider we have an ARM Template, then Resource manager will get this reqeust nad porcess it. There are two types of ARM Templates,
- JSON Template (Not Recommended as of today)
- Bicep Template
How BICEP works?
Transpilation is the proceess underneath the bicep tooling that converts the bicep file to JSON template and submits to the azure resource manager. Tooling takes care of the creation and submit the JSON template to ARM. But we can also generate the build of JSON template and submit the template manually.
Why Bicep?
Firstly, instead of JSON/ARM Template it is preffered to use Bicep. Since Bicep is an Azure native tool it integrates well with platform and we can monitor the bicep deployments. Also, Bicep is a Microsoft licensed tool which helps with the support question.
Do not consider bicep if you already have decided another IaC tool, such as Terraform and Anisble, as it just adds another layer of complexity. Also, this is a Azure native tool, hence cross cloud deployments might not work.
First Bicep Template
In our bicep template, we define the assets or resources that we want to deploy. The following is the basic template of Bicep:
1
2
3
4
5
6
resource <resource_type/symbolic_name> '<api_of_the_resource>' = {
    name = 'resource_name'
    location = 'location_name'
    resource_parameters = '<depending on the resource, the parameters might change>'
    properties = '<required properties>'
}
Visual studio code extension will give us the parameters and resource_parameters that are needed based on the api we are deploying.
1
2
3
4
5
6
7
8
9
10
11
12
13
14
15
16
resource appServicePlan 'Microsoft.Web/serverFarm@2021-03-01' = {
    name = 'test-appServervicePlan'
    location = 'westus2'
    sku = {
        name = 'F1'
    }
}

resource appServiceApp 'Microsoft.Web/sites@2021-03-01' = {
    name = 'test-appServiceApp'
    location = 'westus2'
    properties = {
        serverFarmId = appServiceplan.id
        httpsOnly = true
    }
}
When you creating a new resource in visual studio code use crtl + space to get the list of fields each resource type expects using VS Code extenstion.
Parameters and Variables
To avoid hardcoding the values directly to the template, as the template are powerful and can be used to deploy to multiple environments. Hence we use parameters. This will help us with the reusability of the template and helps us with the unique naming of resources amoung other things. We can also use complex parameters using arrays and boolean.
1
param <parameter_name> <parameter_type>
If we have no value specified along with the parameter, then the parameter becomes mandatory but if we specify a value along with the parameter, that value will be used as a default value if no value is specified in the template or during the deployment. Using defaults values is not recommended as there are resources that would need to have unique names accross azure cloud. Hence using the default names is not recommended but can be using in some cases.
1
param appServicePlanName string = 'testbicepsvcplandefautlvalue'
To reuse any parameters, we can use variables. Using these variables, we can reuse the variables for multiple different deployments of the same template. Parameters can be use to override any give values and variables can be used for parameters when you want to reuse the variable acroos differnet environments.
1
var <variable_name> = '<value>'
Expressions
Expressions can automatically compute information. For Example: we can create a business rule that will always create a resource in the same location as the resource group.
1
param location string = resourceGroup().location
This will be set as a default value but this can be overridden by the use within the template to deploy resource not in the same location as the resource group. Many resource in azure need unique name across the azure cloud, in these cased we can use uniqueString
1
param storageAccountName string = uniqueString(resourceGroup().id)
This uniqueString functions needs a seed value as the input. In the above example, resourceGroup().id is the seed value. For the same seed value, you will always get the same unique value, but for different seed values, we will get different output strings. But this function will output some random string, which is not useful in most cases, So, we can use string interpolation. Refer the below eexample for reference
1
param storageAccountName string = 'storageAccountName${uniqueString(resourceGroup().id)}'
As showcased above, we can using uniqueString in tandam with meaningful names and concating both with string interpolation helping use with automation of unique names.
Allowed decorator showcased below helps with specifying what are the values that parameter can accept
1
2
3
4
5
6
7
8
@allowed([
    'npe'
    'prd'
])
param environmentType string

var storageAccountSkuName = (environmentType == 'prd') ? 'Standard_GRS' : 'Standard_LRS'
var appServicePlanSkuName = (environmentType == 'npe') ? 'P2v3' : 'F1'
When a parameter has allowed values, as mentioned above, and no values were provided in the bicep template, you will be prompted to chose a value durirng the creation of deployment to select a value from the list provided.
As for the expressions involving the variables storageAccountSkuName and appServicePlanSkuName, the expressions indicate that based on the environment type that was provided, in non production the storage account will have Standard_LRS sku but in prd it will have Standard_GRS sku. ? acts as a if condition in bicep allowing us to use if - conditional loops in Bicep.
Outputs
Outputs sends the data back to whoever or whatever that created the deployment. The format goes like
1
2
3
output <symbolic_name> <output_type> = <value>

output appServicePlanName string = appServicePlanName
Modules
Modularization is a big part of bicep. We can create a module for each resource and re-use this template anywhere we want. THe decleration looks something like this:
1
2
3
4
5
6
module myModule 'modules/myModule.bicep' = {
    name: 'MyModule'
    params: {
        location: 'location'
    }
}
Just like templates, output of one module can be used in other modules within our main bicep file.
When creating modules, we need to have a purpose for creating a module, if not, this will just create unneccessary complexity. For large or complex deployment, it always a good idea to use modules.
When creating a module, always make it a self contained module making it simple and easy for re-usability.
References
- MicrosoftLearn
- Youtube series: Introduction to Bicep